Kitchens are one of the most important rooms in your home. A beautifully designed kitchen is not only a real eye catcher, but it can greatly increase the resale value of your home. Dated kitchen cabinets, on the other hand, can take away from the resale value and look of your home.
Painting kitchen cabinets will not only give your room a much need facelift, but it is a cost effective way to upgrade your kitchen. Knowing how to refinish kitchen cabinets will help you turn your dated room into a beautiful, contemporary space for a fraction of the time and price.
7 Easy Kitchen Painting Steps

1. Prepare Your Painting Area
Before you even begin to paint your kitchen cupboards, you must remove your cabinet doors and drawers so you will need a clean space big enough to lay the doors flat. Make sure the area you choose is clean and well ventilated. Use drop cloths down to protect your surfaces and painted kitchen cabinets to protect the surrounding area.
Before you start your kitchen cabinet painting project cover your counters, appliances, flooring, and walls with drop cloths. Use painters’ tape around windows, door frames, and corners to make sure paint splatters do not get on your kitchen surfaces.
2. Remove and Prepare Your Cabinetry
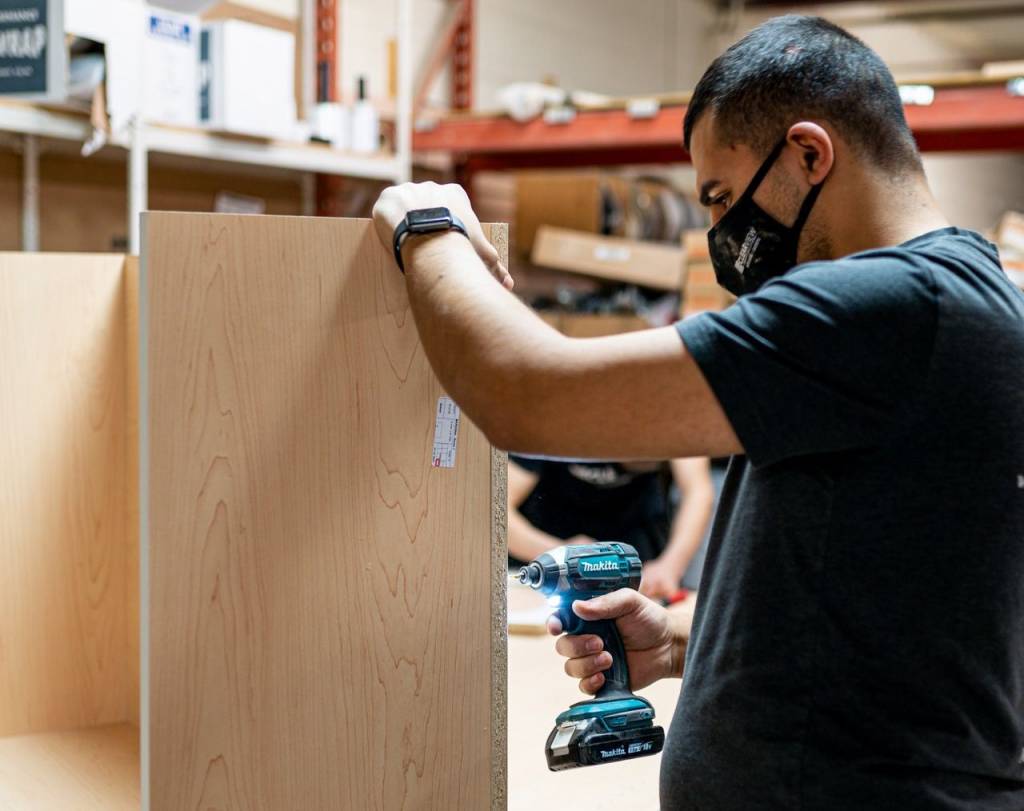
Once you have the area ready, remove all the doors and drawers from your cabinets. Remove all the hardware including hinges and handles so they do not get paint on them and have an uninterrupted surface painting surface.
Clean all your laminate or wood kitchen cabinets thoroughly using a gentle grease remover and sponge to get all the dirt off your kitchen cabinets. Once they have dried thoroughly, sand all surfaces with medium sandpaper. A rough surface will help the paint stick. Once you are finished sanding, wipe the dust away with a damp sponge and let dry. Now you are ready to paint!
3. Apply Primer
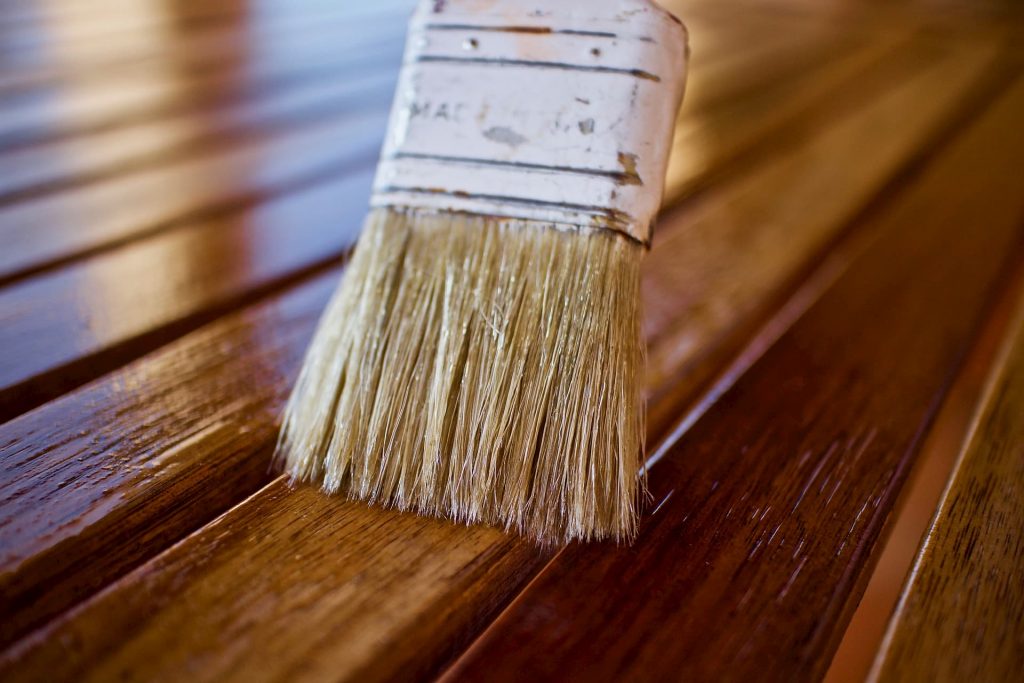
Apply a coat of kitchen primer to all your surfaces including your base cabinets. Primer gives a stable, even surface and covers any minor blemishes or discolouration’s on your kitchen cupboards. It will also help the paint stick better to the surface. If you are applying a darker colour, use a tinted primer to help reduce the number of cabinet paint coats you will need to apply. Once you are finished, you must let the primer dry for 24 hours before painting.

4. Re-sand Your Cabinets
Once the primer has completely dried, re-sand your laminate and wood kitchen cabinets using a fine 220-grit sandpaper or sanding block to remove any drips, pooled areas, or other imperfections. Sand the corners and detailed areas so the paint will look even and lustrous when applied. Wipe the dust off with a damp sponge and let dry.
5. Paint Your Cabinets
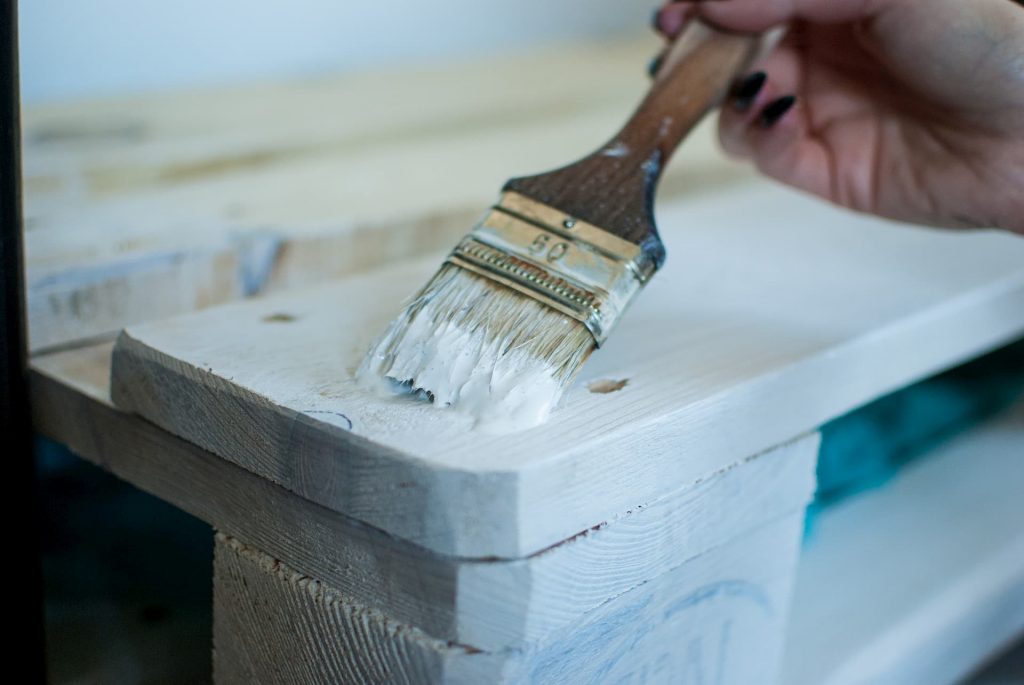
Now it’s time to begin your kitchen cabinet paint project. For best results, use wood paint specifically made for kitchen cabinet painting and a sponge roller for a smooth, quick application. Let the paint dry for 24 hours.
6. Let Dry and Repeat
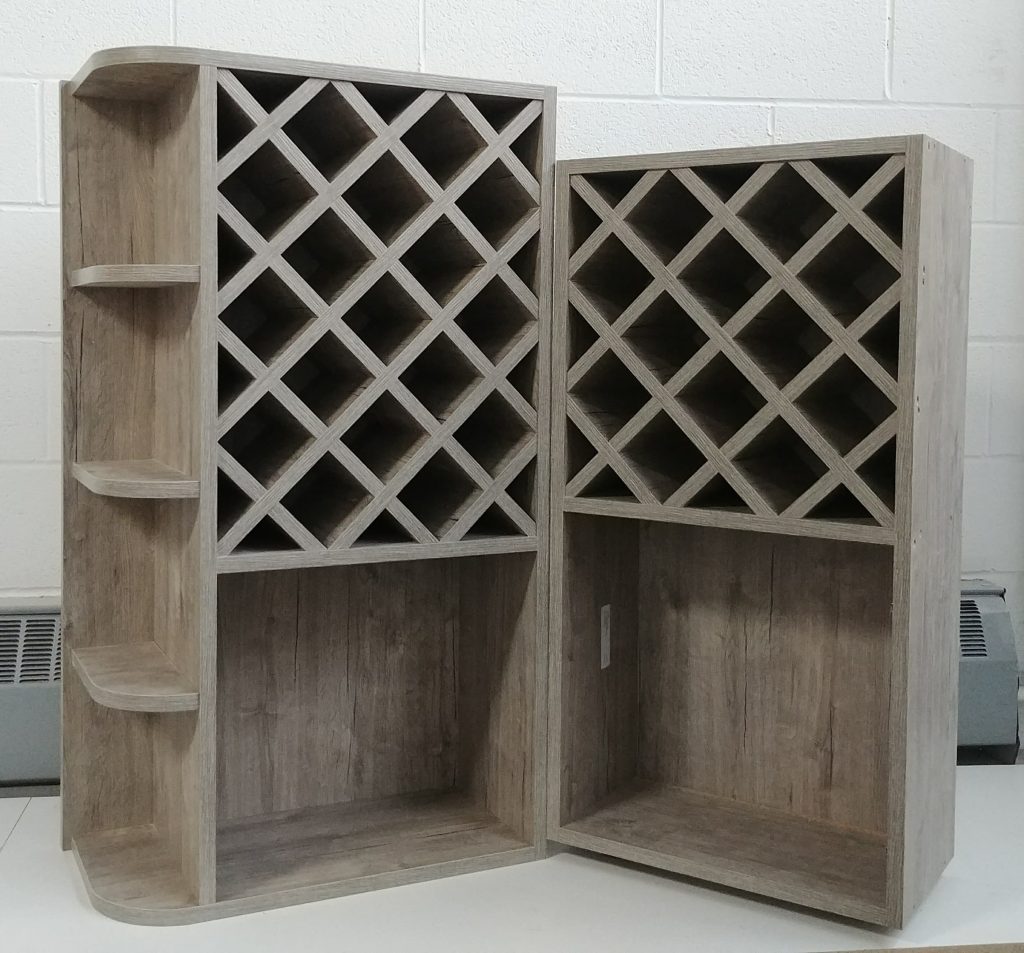
Once your first coat of paint is dry, sand your kitchen cabinets again using fine sandpaper to smooth the surface and remove any imperfections. Wipe away the dust, let dry, then apply the second coat of cabinet paint. Let the paint dry for 24 hours.
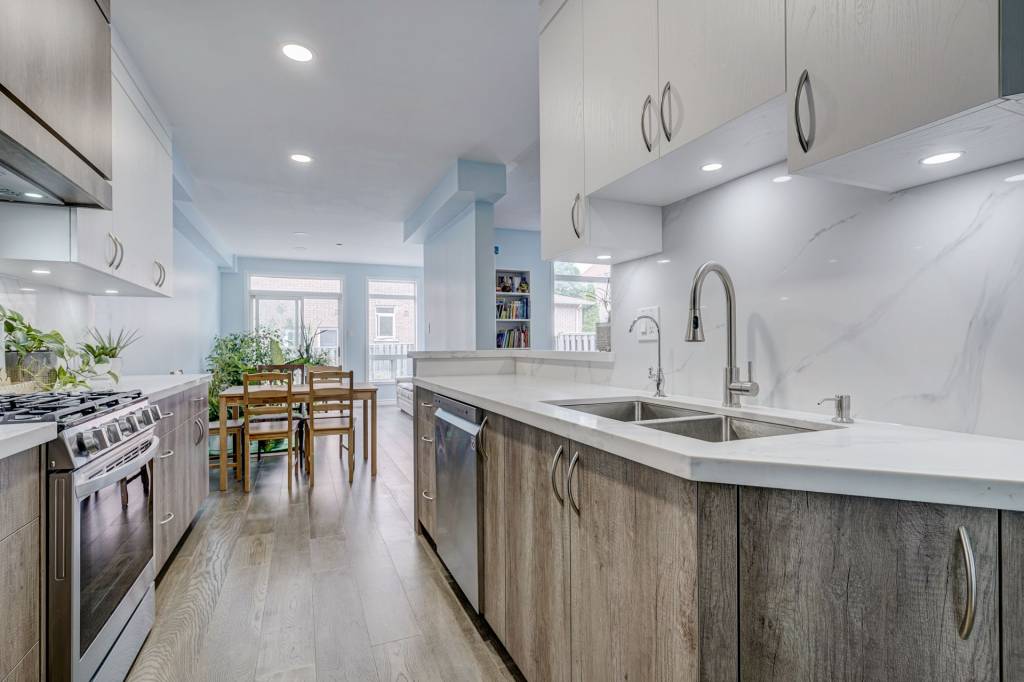
7. Reassemble Your Kitchen
Once the cabinets are completely dry, reattach the hardware and hang the cabinet doors onto the wood kitchen cabinets again. Once everything is back in place, you can stand back and admire your “new” kitchen.
Common Mistakes When Painting Kitchen Cabinets
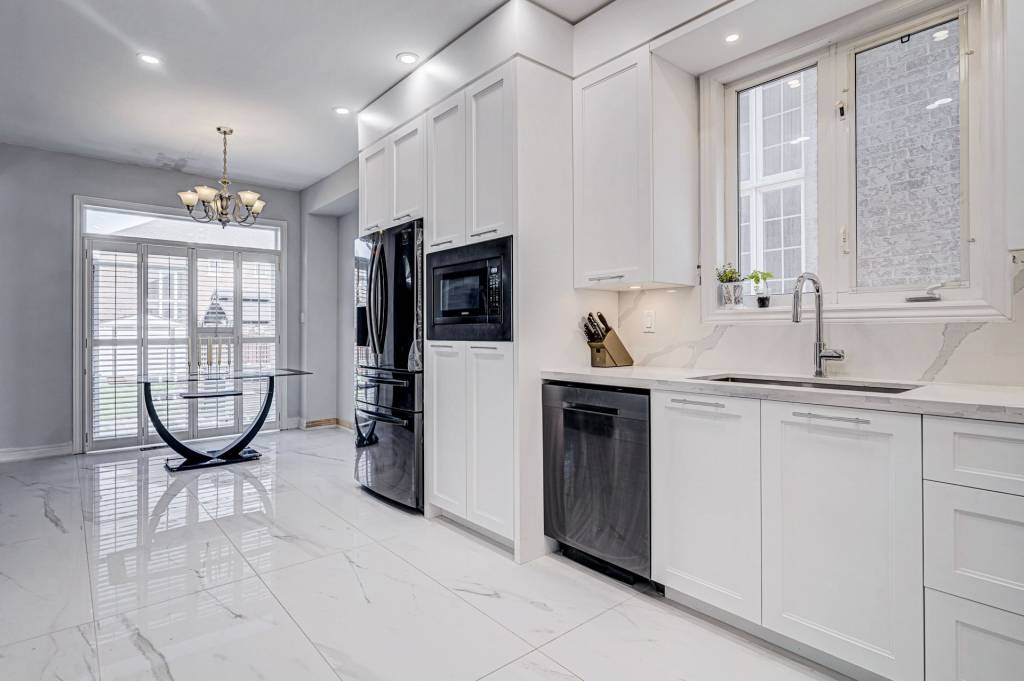
Refinishing kitchen cupboards is a cost effective and simpler way to update the look of your kitchen. However, knowing how to paint your kitchen cabinets is important to ensure your kitchen remodel looks great when finished. Often the biggest mistakes people make when cabinet painting is trying to rush the job or skip steps. Other common mistakes made include:

- Not cleaning your cabinets with grease remover first
- Failure to remove the cabinet doors and drawers
- Not labelling the doors so you know where to put them afterward
- Skipping the sanding and preparing of your cabinets
- Not removing the hardware before you start painting
- Using the wrong type of paint
- Not using a primer first
- Not allowing each coat to dry thoroughly and completely
At Clearview Kitchens, we are experts in kitchen cabinet refinishing. We can upgrade your cabinets to give your kitchen a beautiful new look.


